In the previous post, we saw how to add the follow functionality to a Laravel app. We also looked at how to configure our app to use Stream. This part will focus on:
- configuring our models in order to make it possible to track activities.
- the different types of feeds that Stream provides.
- getting feeds from Stream.
- rendering the different types of feeds in a view.

Activity Fields
When using Stream, models are stored in feeds as activities. An activity is composed of at least the following data fields: actor, verb, object, time. You can also add more custom data if needed.
- object is a reference to the model instance itself
- actor is a reference to the user attribute of the instance
- verb is a string representation of the class name
Let’s define the activity verb inside our Post model:
[...]
class Post extends Model
{
    [...]
    /**
    * Stream: Change activity verb to 'created':
    */
    public function activityVerb()
    {
        return 'created';
    }
}
Feed Manager
We’ll leverage the FeedManager to make our app lively. Stream Laravel comes with a FeedManager class that helps with all common feed operations. We can get an instance of the manager with FeedManager which we set as the facade alias earlier inside the config/app.php file.
Pre-Bundled Feeds
To get us started, the manager has feeds pre-configured. We could also add more feeds if our app needed them. The three feeds are divided into three categories: User Feed, News Feed and Notification Feed. The User feed, for example, stores all activities for a user. Let’s think of it as our personal Facebook page. We can easily get this feed from the manager.
For this application, however, we are more interested in getting notifications for posts created by people we follow and also notifications for new follows, thus we’ll just stick to the News Feed and the Notification Feed. For more information on the other types of feeds and how to use them visit this link.
Follow / Unfollow Functionality – Using FeedManager
We need to update the follow and unfollow methods inside the FollowController, to take note of the FeedManager:
app/Http/Controllers/FollowController.php
[...]
public function follow(User $user)
{
    if (!Auth::user()->isFollowing($user->id)) {
        // Create a new follow instance for the authenticated user
        Auth::user()->follows()->create([
            'target_id' => $user->id,
        ]);
        \FeedManager::followUser(Auth::id(), $user->id);

        return back()->with('success', 'You are now friends with '. $user->name);
    } else {
        return back()->with('error', 'You are already following this person');
    }

}

public function unfollow(User $user)
{
    if (Auth::user()->isFollowing($user->id)) {
        $follow = Auth::user()->follows()->where('target_id', $user->id)->first();
        \FeedManager::unfollowUser(Auth::id(), $follow->target_id);
        $follow->delete();

        return back()->with('success', 'You are no longer friends with '. $user->name);
    } else {
        return back()->with('error', 'You are not following this person');
    }
}
[...]
This code inside the follow method lets the current user’s timeline and timeline_aggregated feeds follow another user’s personal feed. Inside the unfollow method, we unsubscribe from another user’s personal feed.
Displaying the Different Types of Feed
To display the different types of feed, let’s start by creating a FeedsController:
php artisan make:controller FeedsController
When reading data from feeds, activities come back in a format that is not suitable for use in our views. For example, a post creation activity will look like this:
{'actor': 'User:1', 'verb': 'created', 'object': 'Post:1'}
This is far from ready for usage in our templates. We call the process of loading the references from the database enrichment. We’ll enrich our activities before displaying them in the views.
NewsFeed
Let’s create a newsFeed method inside this controller for getting this type of feed. We should also create a private method within this controller responsible for instantiating the Enricher class:
[...]
use GetStream\StreamLaravel\Enrich;
[...]
class FeedsController extends Controller
{
    public function newsFeed(Request $request)
    {
        // Timeline feed:
        $feed = \FeedManager::getNewsFeeds($request->user()->id)['timeline'];

        //  get 25 most recent activities from the timeline feed:
        $activities = $feed->getActivities(0,25)['results'];
        $activities = $this->enrich()->enrichActivities($activities);

        return view('feed.newsfeed', [
            'activities' => $activities,
        ]);
    }

    private function enrich()
    {
        return new Enrich;
    }
}
In the code block above, we are calling the getNewsFeeds method from the FeedManager (It’s important to specify the format we want to get back. In our case, we want the feed in a timeline format). After that, we get the 25 most recent activities from the feed and then enrich them. These activities should be displayed in the newsfeed view which we’ll be creating shortly.
Next, let’s create a route mapping to the newsFeed method, which when visited will take us to a view with the newsfeed. This route also falls inside the route group with the auth middleware since users have to be authenticated for the feed to load:
[...]
Route::group(['middleware' => ['auth']], function () {
    [...]
    Route::get('/feed', 'FeedsController@newsFeed');
});
[...]
Templating
We can now render the enriched activities in a view:
resources/views/feed/newsfeed.blade.php
@extends('layouts.app')

@section('content')
    <div class="container">
        @if ($activities)
            <div class="panel panel-default">
                <div class="panel-heading">
                    News Feed
                </div>

                <div class="panel-body">
                    @foreach ($activities as $activity)
                        @include('stream-laravel::render_activity', array('activity'=>$activity))
                    @endforeach
                </div>
            </div>
        @else
        <p>You are not following anyone.Follow other users <a href="/users">here</a> in order to see their activities</p>
        @endif
    </div>
@endsection
The stream-laravel::render_activity view tag will render the view activity.$activity["verb"] view with the activity as context. To make things work, we need to create an activity folder inside of views. After doing that, we can create a partial for the post creation activity. The name of the partial should correspond to the activity verb:
resources/views/activity/created.blade.php
<div class="well well-sm">
    <p><small class="text-muted">{{ date('F j, Y, g:i a', strtotime($activity['time'])) }}</small></p>

    <p><strong>{{ $activity['actor']['name'] }}</strong> created a new post titled <strong>{{ $activity['object']['title'] }}</strong></p>
</div>
By visiting the URL \feed, we should be able to see our newsfeed. Initially, we’ll see the text “You are not following anyone” as we had not yet integrated Stream into our app at the time when we were testing the different button variations based on the follow status. Also note that had we not removed the very first activity from the stream dashboard, the page would error complaining about a missing [.app.\user] view.
Let’s go ahead create a new post from our account. If we follow ourselves from a different account, this post creation activity should show up in the feed of this other account like so:
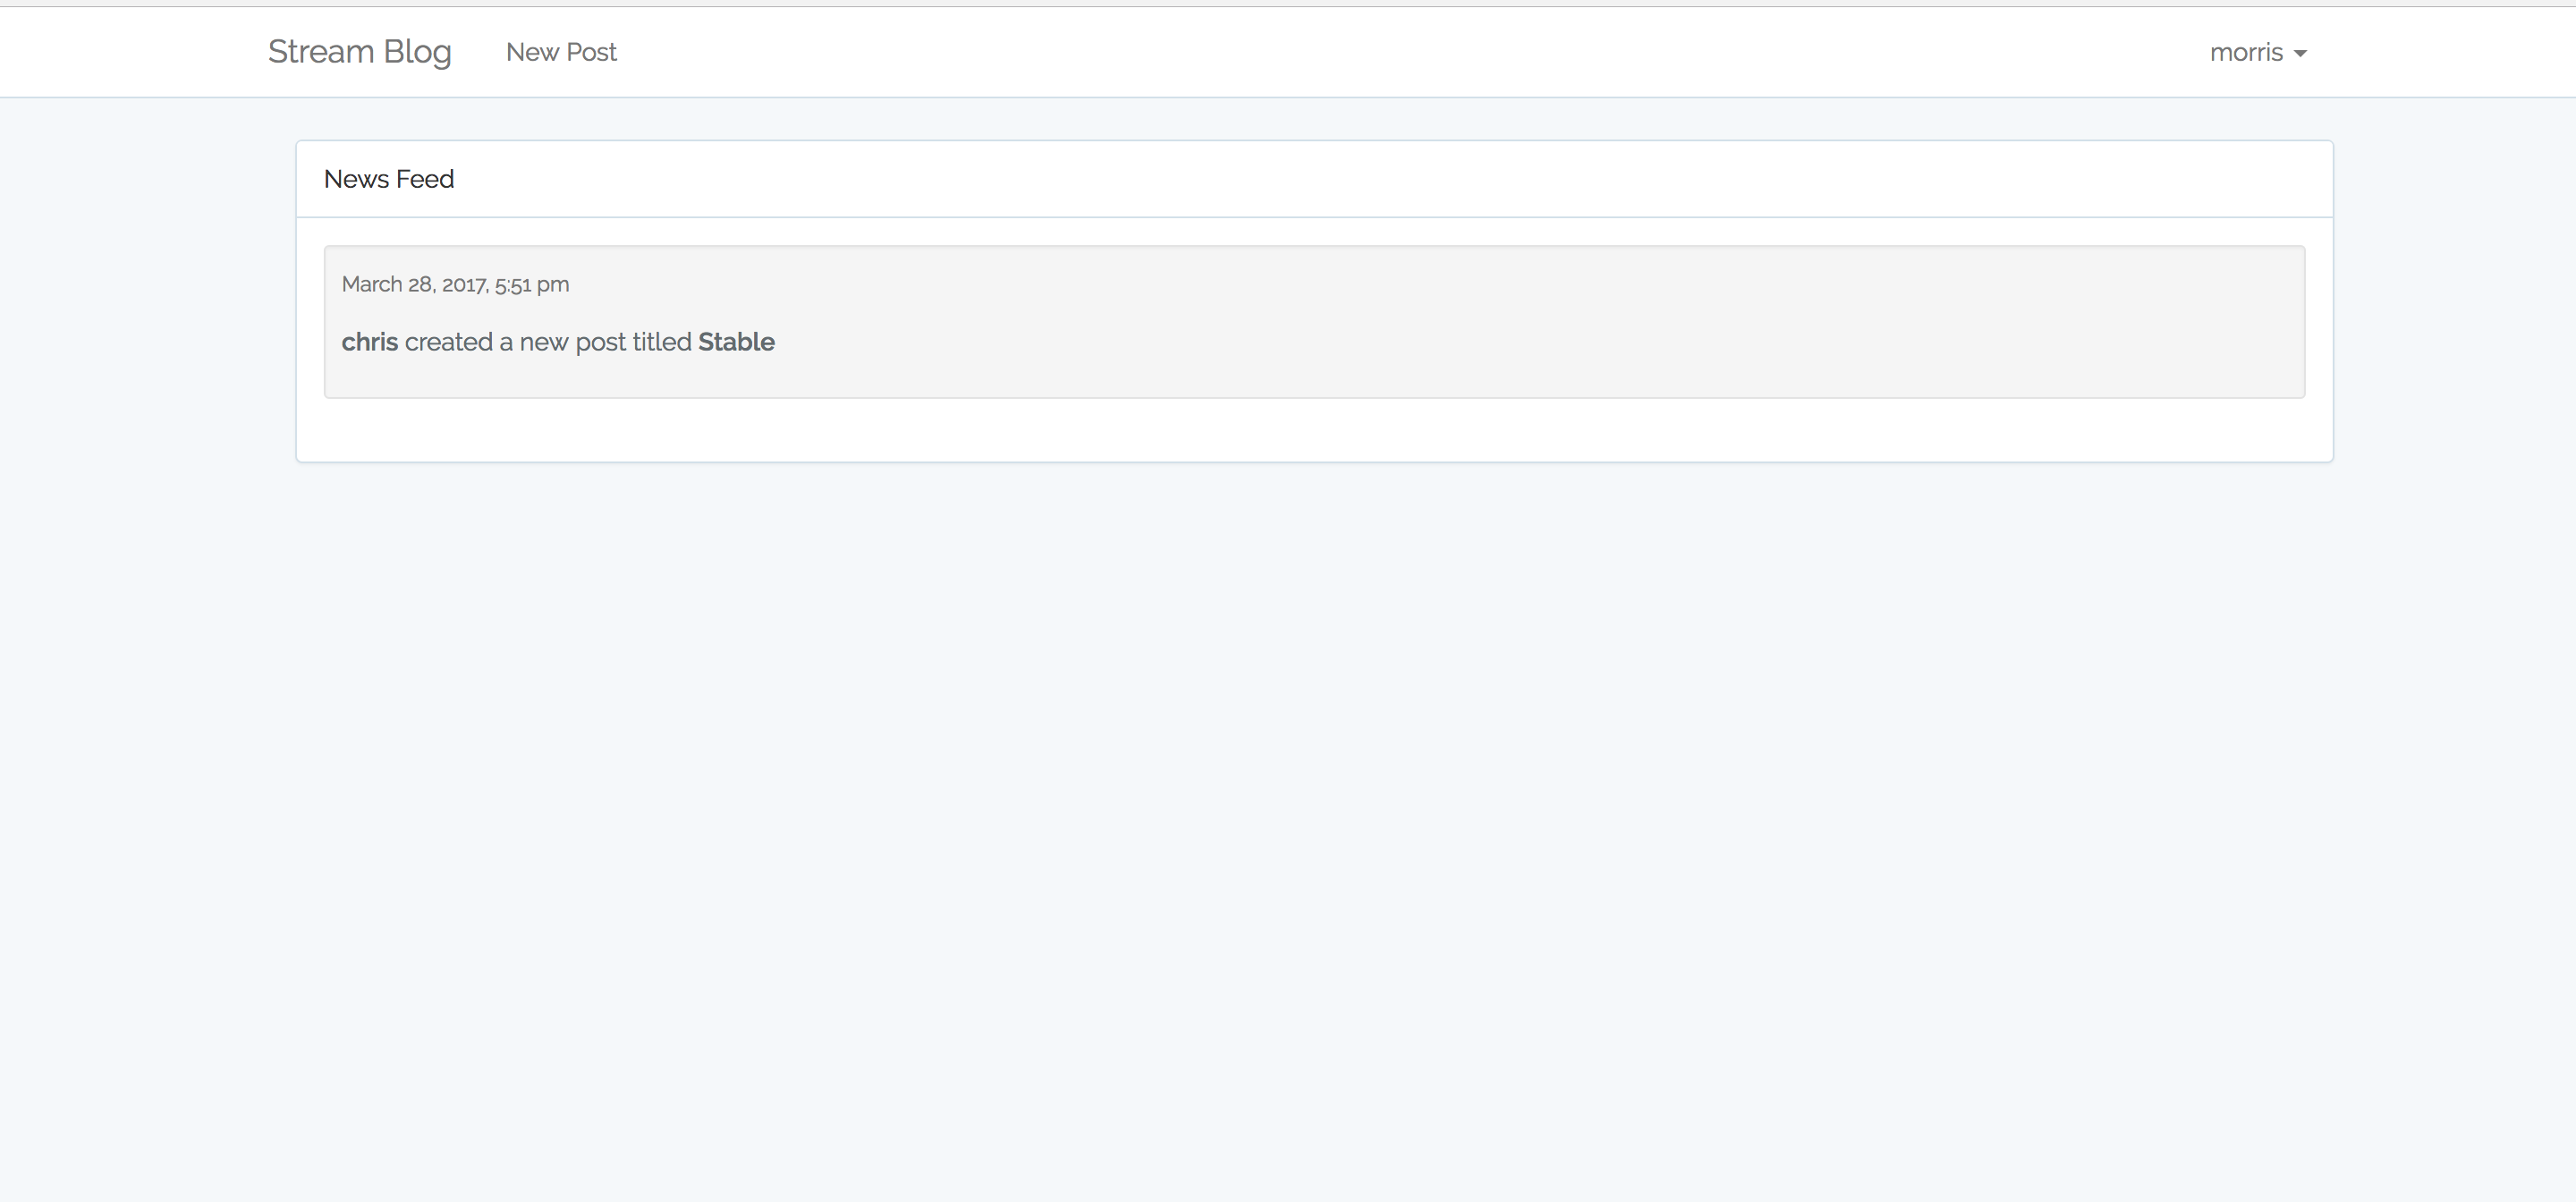
From the screenshot above, if the user called chris creates another post, the new post creation activity from chris will show up on morris' feed:

Alternatively, instead of creating new accounts and posts to test out this behavior, we can truncate the data in our app from Stream’s dashboard then pre-populate our database again with seed data. The gif below illustrates how to truncate data:
When we seed our database this time around, the post creation activity will be noted on Stream:
php artisan migrate:refresh --seed
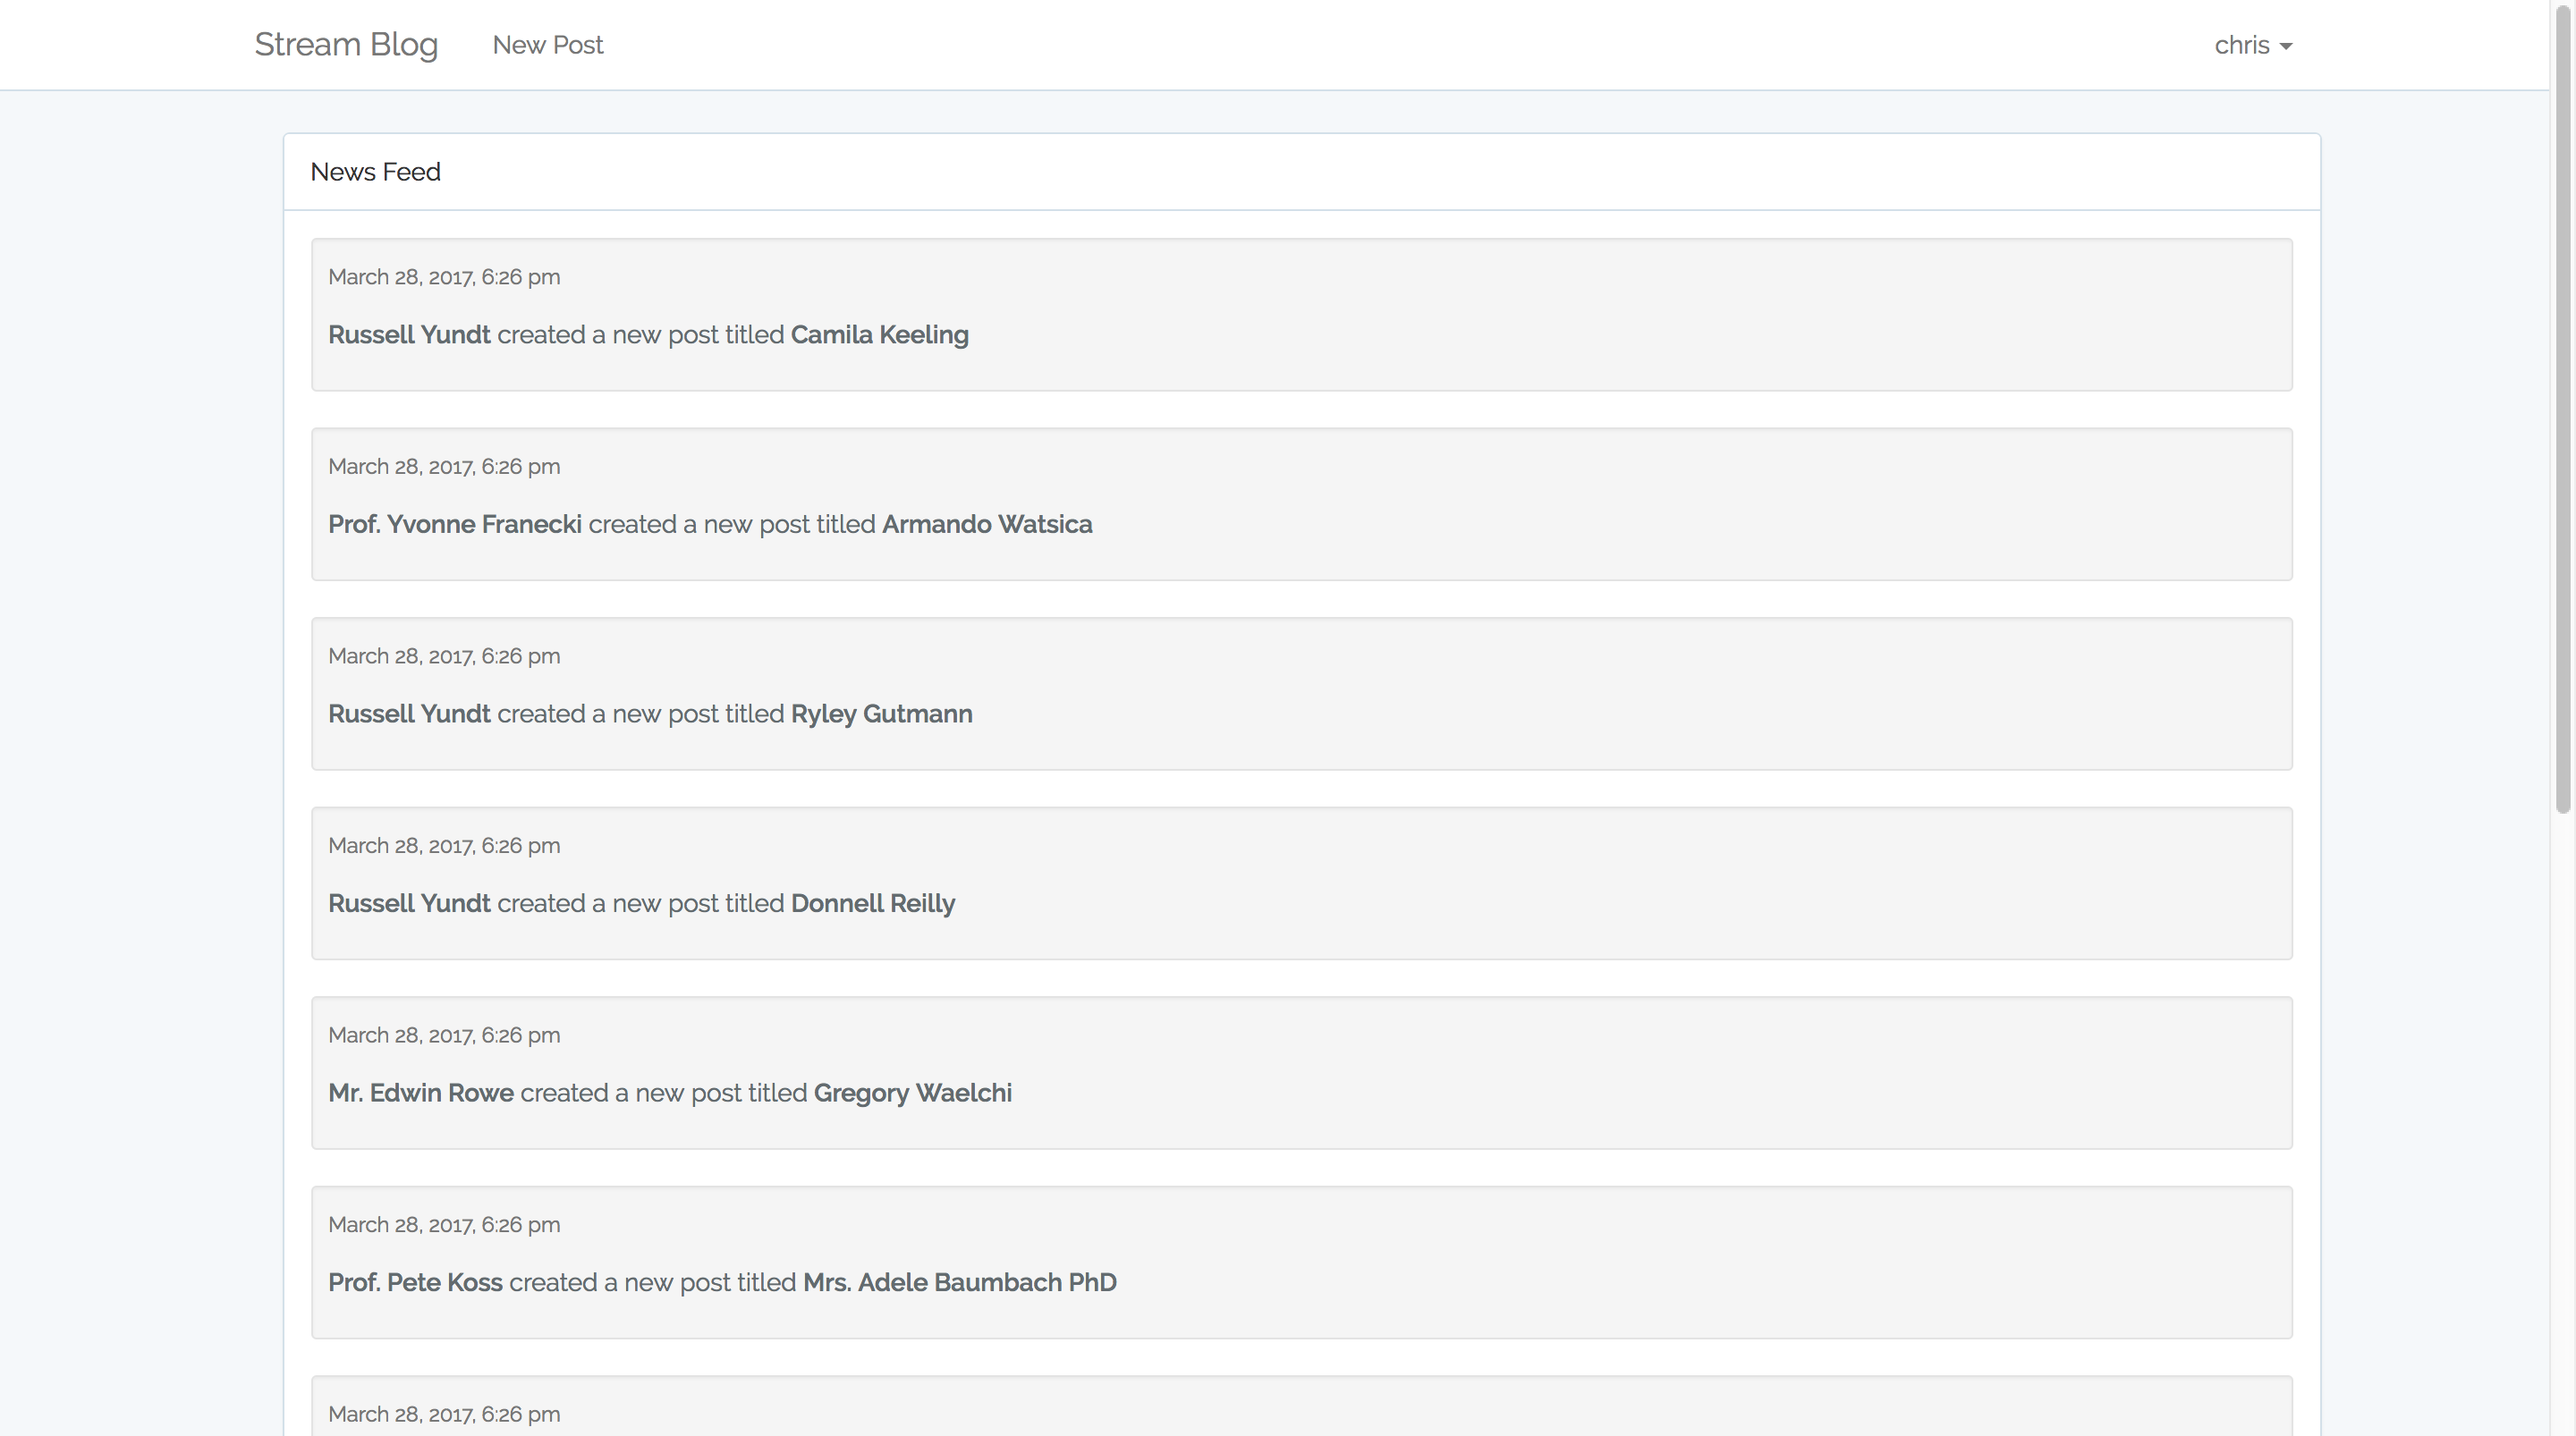
We can then follow some of the users who were created upon seeding the database. If we now visit the URL \feed, we’ll see their activities:
Right now, we can only get notifications for new posts created by people we follow. We also want to make it so that we get notifications for new follows.
Notification Feed
For this, let’s start by updating our Follow model to take note of follow activities
app/Follow.php
class Follow extends Model
{
    use \GetStream\StreamLaravel\Eloquent\ActivityTrait;

    [...]
    public function target()
    {
        return $this->belongsTo(User::class);
    }

    public function activityNotify()
    {
        $targetFeed = \FeedManager::getNotificationFeed($this->target_id);
        return array($targetFeed);
    }

    public function activityVerb()
    {
        return 'follow';
    }

    public function activityExtraData()
    {
        return array('followed' => $this->target, 'follower' => $this->user);
    }
The activityNotify method is used to build the notification feed. This type of feed is useful to notify certain users about an action. In our case, we are notifying a user that someone has followed them. The activityExtraData() method lets us store more data than just the basic fields. In our case, we want to store the target for a new follow and also the person who followed the target.
Let’s go ahead and create the controller action, the route, and the view to display the notification feed:
app/Http/Controllers/feedController
[...]
class FeedsController extends Controllers
{
    [...]
    public function notification(Request $request)
    {
        //Notification feed:
        $feed = \FeedManager::getNotificationFeed($request->user()->id);
        $activities = $feed->getActivities(0,25)['results'];
        $activities = $this->enrich()->enrichActivities($activities);

        return view('feed.notifications', [
            'activities' => $activities,
        ]);
    }
}
We get this feed the same way we got the newsfeed, the only difference is we are calling the getNotificationFeed method on the FeedManager instead of the getNewsFeeds method.
Let’s now create the route mapping to this controller action:
Route::group(['middleware' => 'auth'], function () {
    [...]
    Route::get('/notifications', 'FeedsController@notification');
});
Templating
When displaying the notification feed, we will follow the same procedure as when displaying the newsfeed, i.e create a partial with the information we want to display, then render the partial in a view. We’ll start by creating the view:
resources/views/feed/notifications.blade.php
@extends('layouts.app')

@section('content')
    <div class="container">
        @if ($activities)
            <div class="panel panel-default">
                <div class="panel-heading">
                    Notification feed
                </div>

                <div class="panel-body">
                    @foreach ($activities as $activity)
                        @foreach ($activity['activities'] as $activity)
                            @include('stream-laravel::render_activity', array('aggregated_activity'=>$activity, 'prefix'=>'notification'))
                        @endforeach
                    @endforeach
                </div>
            </div>
        @else
        <p>You don't have any follow activities</p>
        @endif
    </div>
@endsection
Notice we have to go two levels deep in our view to access the notification feed? This is because of the data format we get back after calling the getNotificationFeed method. Also, note the line of code to render the partial has a prefix key the value of which is set to notification. Let me explain what’s going on. For this app, we want two different templates for the same activity i.e. the follow activity. To achieve this with Stream, we send a third parameter to change the view selection. In this case we’ll create a partial called notification_follow.blade.php inside the activity folder:
resources/views/activity/notification_follow.blade.php
<div class="well well-sm">
    <p><small class="text-muted">{{ date('F j, Y, g:i a', strtotime($activity['time'])) }}</small></p>
    <p>You are now friends with <strong>{{ $activity['follower']['name'] }}</strong></p>
</div>
If we visit the /notifications URL, we should see feed for every follow we received and the name of the person who followed us:
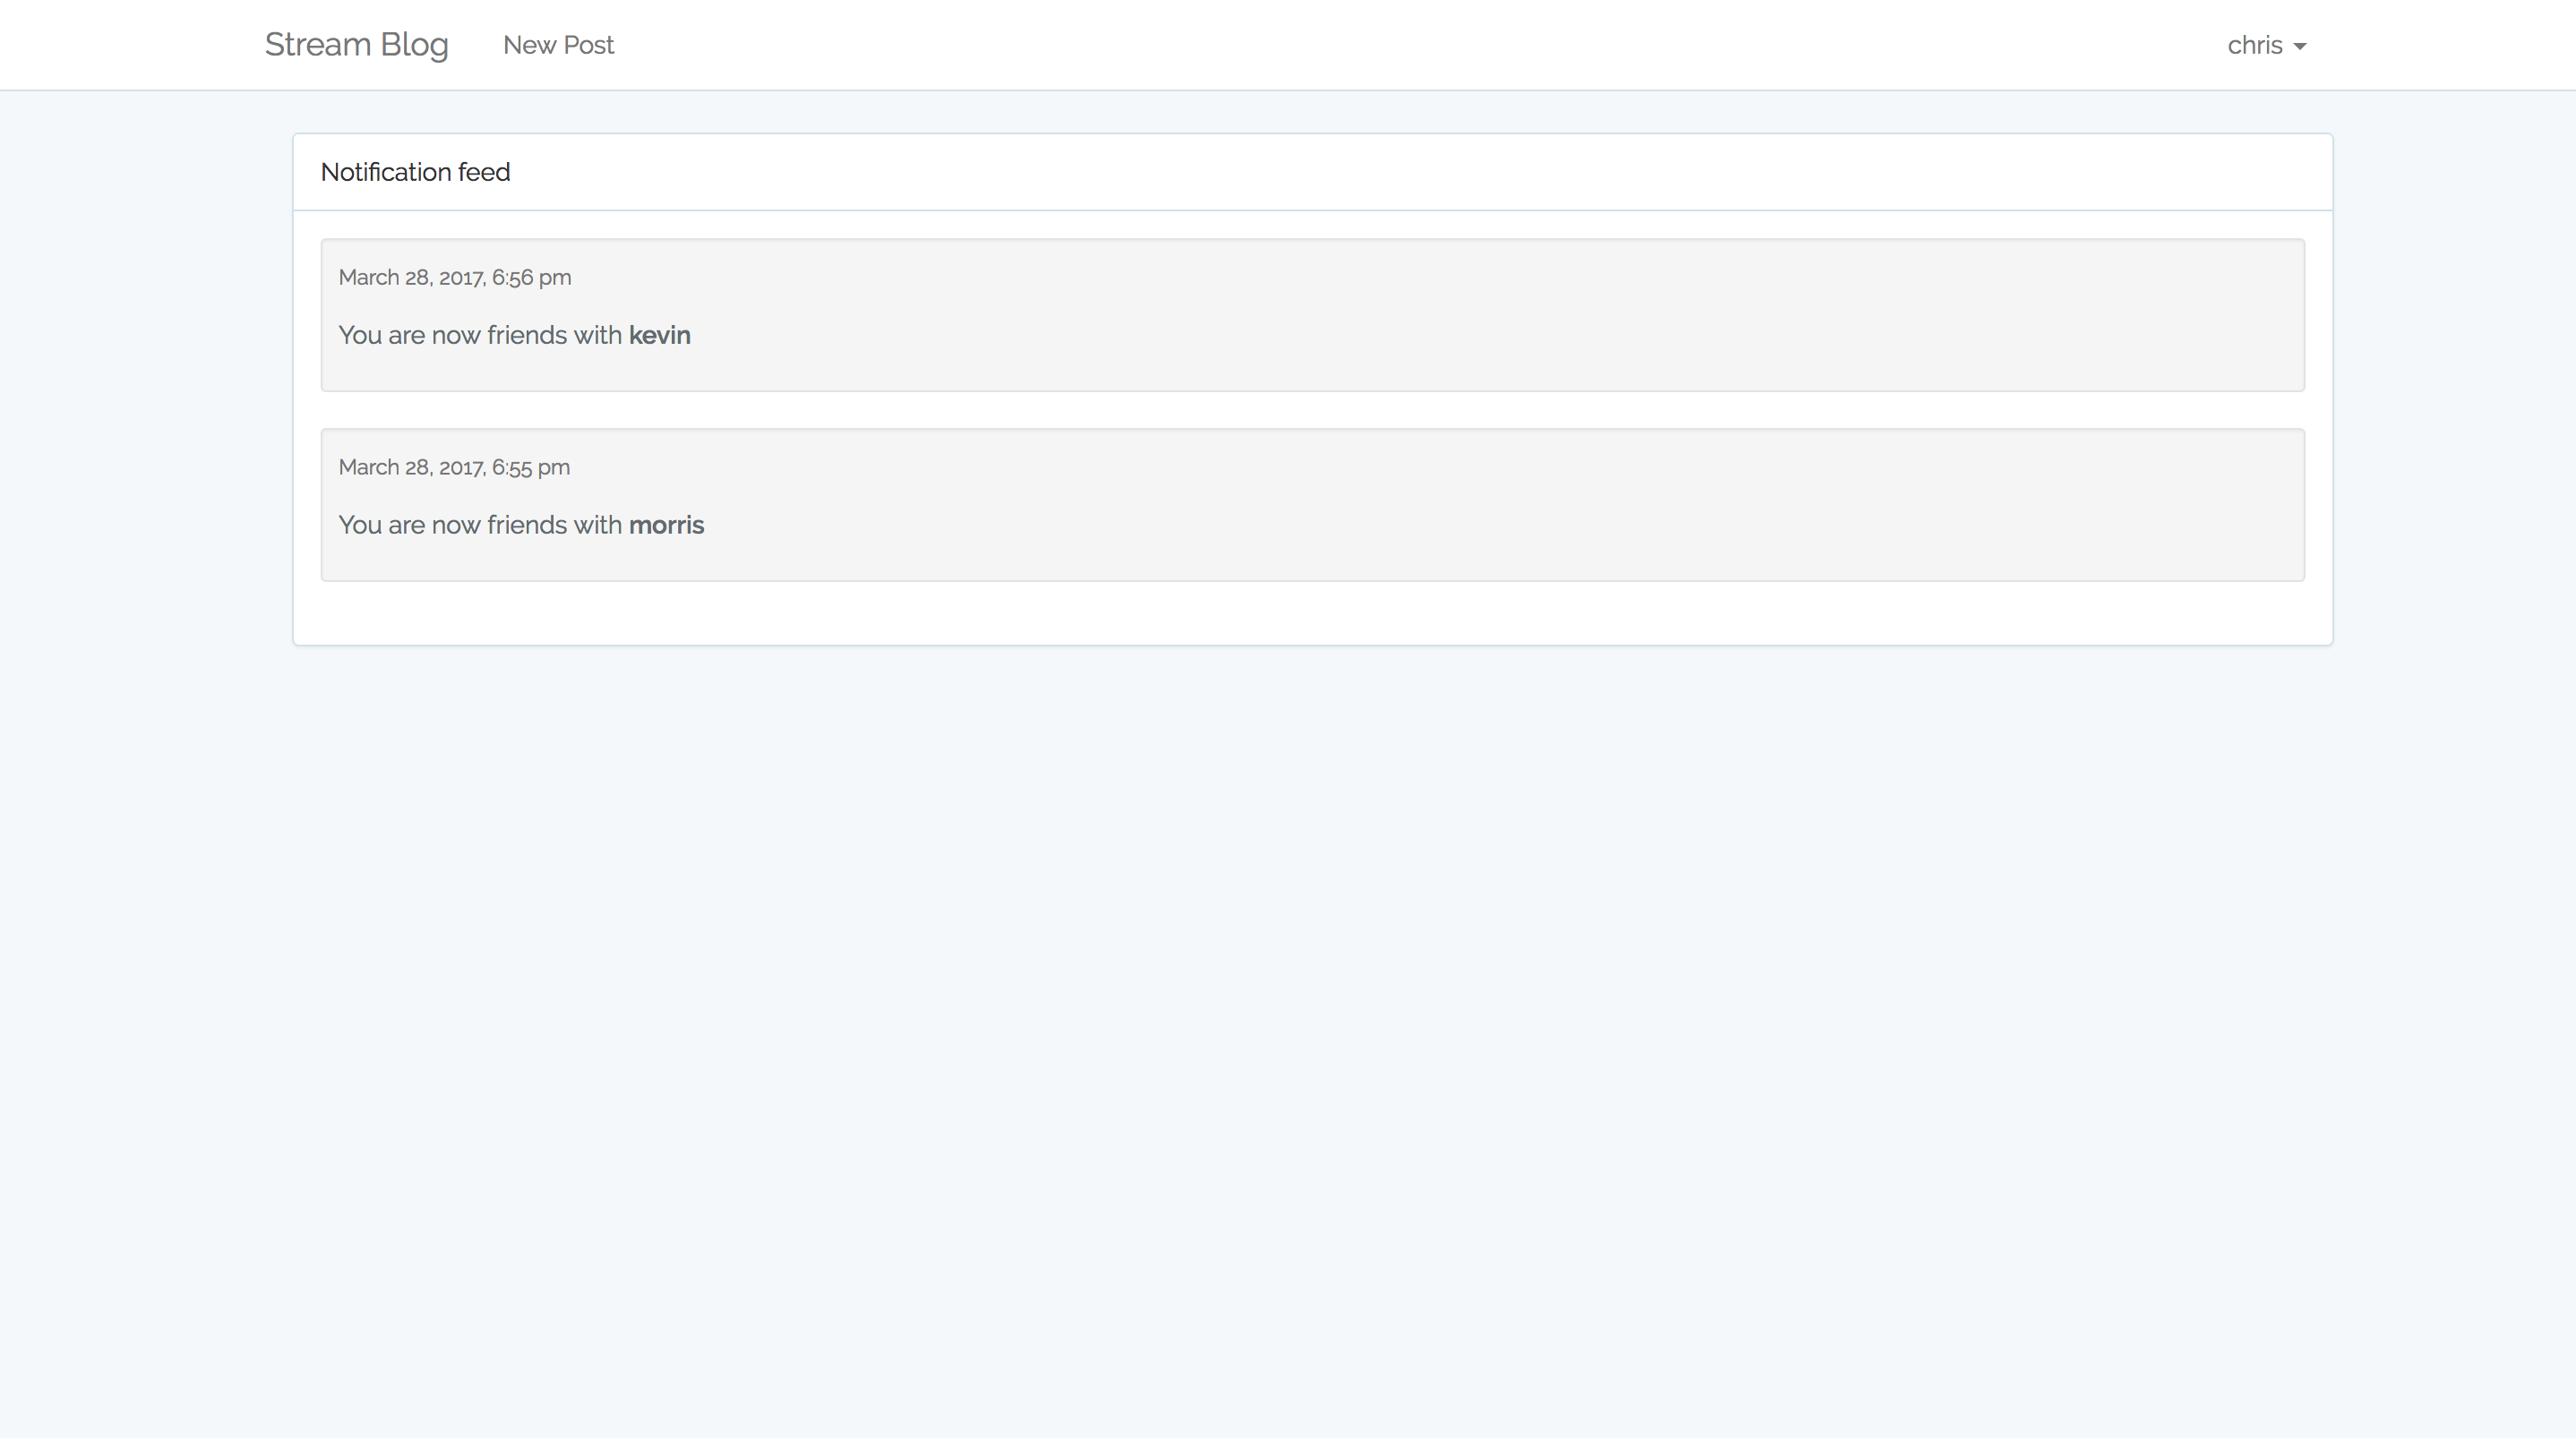
From the screenshot, both Morris and Kevin followed me.
We also want the feed for follow activities to show up in our NewsFeed page. However, when displaying this, we want to say who became friends with whom. This is the reason we had to come up with different partials for the follow activity. More information on templating is available on Streams GitHub Page:
resources/views/activity/follow.blade.php
<div class="well well-sm">
    <p><small class="text-muted">{{ date('F j, Y, g:i a', strtotime($activity['time'])) }}</small></p>
    <p><strong>{{ $activity['actor']['name'] }}</strong> is now friends with <strong>{{ $activity['followed']['name'] }}</strong></p>
</div>
Let’s now visit the /feed URL. Follow activities should also show up:
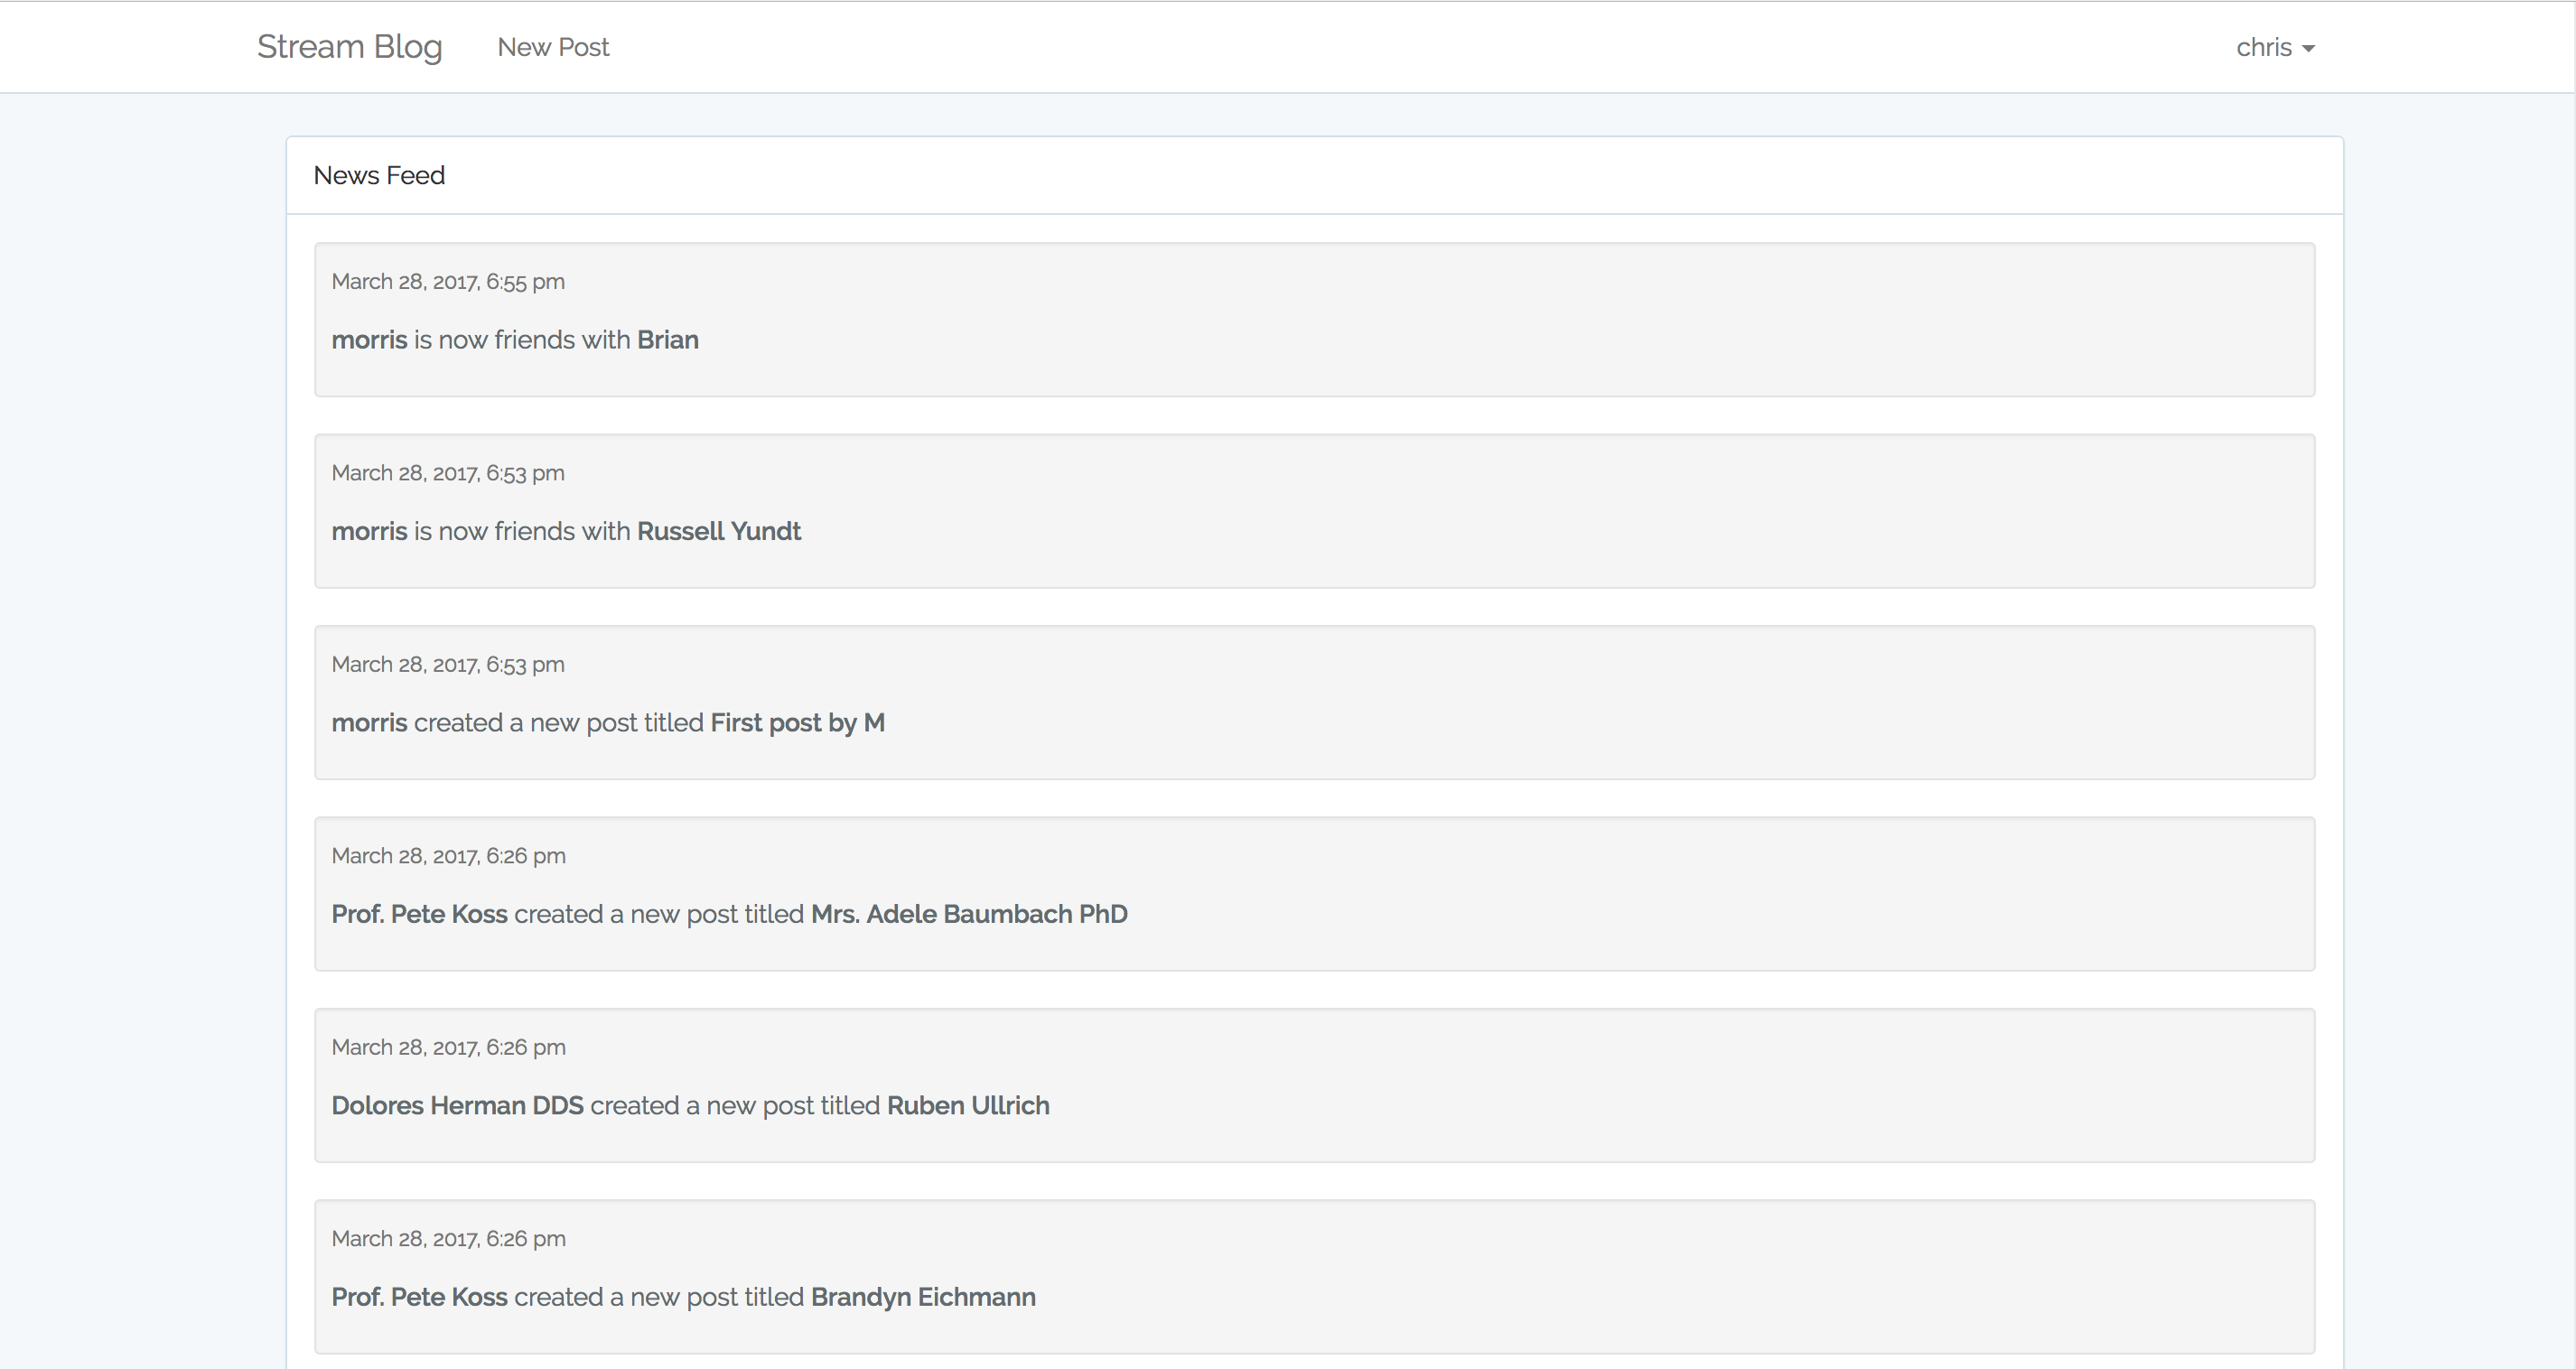
To make navigation easier, we can add links to access the newsfeed and the notification feeds in the navbar next to the New Post link:
resources/views/layouts/app.blade.php
<ul class="nav navbar-nav">

    <li><a href="{{ url('/posts/create') }}">New Post</a></li>
    <li><a href="{{ url('/users') }}">Users</a></li>
    <li><a href="{{ url('/feed') }}">News Feed</a></li>
    <li><a href="{{ url('/notifications') }}">Notification Feed</a></li>
</ul>
Conclusion
Stream makes it extremely easy to add feeds to any app compared to coding the logic from scratch.
We can track just about anything in an app, even liking or commenting on posts. I’ll leave that as a homework assignment so that you get to play around with the API. Stream also provides a low-level API access for PHP projects that don’t use Laravel. More information on how to use the low-level PHP client API directly is available here.
If you found this tutorial helpful, please hit the like button and don’t forget to share with your friends and colleagues!
Frequently Asked Questions (FAQs) about Building a Social Network with Laravel and Stream
What are the prerequisites for building a social network with Laravel and Stream?
Before you start building a social network with Laravel and Stream, you need to have a basic understanding of PHP and Laravel. Laravel is a PHP framework, so knowledge of PHP is essential. You should also be familiar with Composer, a dependency management tool for PHP. Additionally, you should have a basic understanding of how to use Stream, a scalable news feed, and activity stream service.
How can I integrate Stream into my Laravel application?
Stream provides a PHP SDK that you can easily integrate into your Laravel application. You can install it via Composer by running the command composer require get-stream/stream-laravel. After installing the SDK, you need to configure it by adding your Stream API credentials to your .env file.
How can I create a user feed in Laravel using Stream?
To create a user feed in Laravel using Stream, you first need to create a user in Stream. You can do this by calling the createUser method on the Stream client. Once the user is created, you can create a feed for them by calling the userFeed method on the Stream client, passing in the user’s ID.
How can I add activities to a user’s feed in Laravel using Stream?
You can add activities to a user’s feed in Laravel using Stream by calling the addActivity method on the user’s feed. The addActivity method takes an array of activity data, which includes the actor, verb, object, and any additional data you want to include.
How can I display a user’s feed in Laravel using Stream?
To display a user’s feed in Laravel using Stream, you can call the getActivities method on the user’s feed. This will return an array of activities that you can loop through and display in your application.
How can I follow another user’s feed in Laravel using Stream?
You can follow another user’s feed in Laravel using Stream by calling the follow method on the user’s feed, passing in the target feed’s ID.
How can I unfollow another user’s feed in Laravel using Stream?
To unfollow another user’s feed in Laravel using Stream, you can call the unfollow method on the user’s feed, passing in the target feed’s ID.
How can I add comments to an activity in Laravel using Stream?
You can add comments to an activity in Laravel using Stream by calling the addReaction method on the user’s feed, passing in the activity ID and the comment data.
How can I like an activity in Laravel using Stream?
To like an activity in Laravel using Stream, you can call the addReaction method on the user’s feed, passing in the activity ID and the reaction type of ‘like’.
How can I handle real-time updates in Laravel using Stream?
Stream provides a real-time updates feature that you can use to keep your application up-to-date. You can handle real-time updates in Laravel using Stream by setting up a webhook endpoint in your application that Stream can send updates to.
 Christopher Vundi
Chris is a software developer at Andela. He has worked with both Rails and Laravel and blogs to share a few tips. Chris also loves traveling.