React is the new kid on the block, which means that not many people have any real-world experience of building something with it. This article will focus on components state and when to use them.
An example will be used as the basis for our exploration. A simple blog with a list of categories that when clicked display a list of articles. Data will be hard-coded to begin with, while later we’ll use Socket.IO to simulate external article publication.
Stateless Children, Stateful Parent
Let’s start this article by citing what the React documentation says about this topic:
A common pattern is to create several stateless components that just render data, and have a stateful component above them in the hierarchy that passes its state to its children via
props.
How do we begin to implement this pattern? Phrasing it another way, the pattern involves a hierarchy of parent and child components.
Each component will be in a separate file to enhance modularity. We’ll use Browserify to:
- deliver one bundled JavaScript file to the browser
- prevent global namespace pollution (i.e. on the
windowobject in case of the browser) - support CommonJS modules (i.e.
module.exportsthat we see in Node.js code)
Let’s start our example looking at the bottom of the hierarchy by identifying the ideal candidates for stateless child components.
Identify Stateless Child Components
As I described earlier, the example has two lists: categories and articles. In our application the classes for these lists will be called CategoryList and ArticleList respectively. Both of them are good candidates to be the child component.
categoryList.jsx, the file containing CategoryList, contains the following code:
var React = require('react');

var CategoryList = React.createClass({
    render: function() {
        return (
            <ul>
                {this.props.categories.map(function(category) {
                    return (
                        <li key={category.id}
                            onClick={this.props.onCategorySelected.bind(null, category.id)}>
                            {category.title}
                        </li>
                    );
                }, this)}
            </ul>
        );
    }
});

module.exports = CategoryList;
This component, as well as all the others, is written using JSX. It’s a JavaScript extension that allows to embed XML like markup. You can learn more about it reading the React documentation page.
articleList.jsx, the file containing ArticleList, contains the following code:
var React = require('react');

var ArticleList = React.createClass({
    render: function() {
        return (
            <ul>
                {this.props.articles.map(function(article) {
                    return (
                        <li key={article.id}>
                            {article.title + ' by ' + article.author}
                        </li>
                    );
                })}
            </ul>
        );
    }
});

module.exports = ArticleList;
You’ll notice that neither CategoryList nor ArticleList access state in their render method or do they implement getInitialState(). We’re following the pattern suggested by the documentation and having data passed from a parent via props.
It’s important to note that these components are completely decoupled. ArticleList could be passed an array of articles by any parent. For example ArticleList could be re-used without modification in an author grouped context rather than category grouped context.
Now that we have the stateless child components, we need to move up a level in the hierarchy and create a stateful parent component.
Create a Stateful Parent Component
A stateful parent component can be at any level in a component hierarchy, that is it could also be a child of other components. It doesn’t have to be the top-most component (the component passed to React.render()). In this case, however, because the example is relatively simple, our stateful parent is also the top-most component.
We’ll call this component Blog and will place it in a file called blog.jsx. The latter contains the following code:
var React = require('react');

var CategoryList = require('./categoryList.jsx');
var ArticleList = require('./articleList.jsx');

var Blog = React.createClass({
    getInitialState: function() {
        var categories = [
            { id: 1, title: 'AngularJS' },
            { id: 2, title: 'React' }
        ];

        return {
            categories: categories,
            selectedCategoryArticles: this.getCategoryArticles(this.props.defaultCategoryId)
        };
    },
    getCategoryArticles: function(categoryId) {
        var articles = [
            { id: 1, categoryId: 1, title: 'Managing Client Only State in AngularJS', author: 'M Godfrey' },
            { id: 2, categoryId: 1, title: 'The Best Way to Share Data Between AngularJS Controllers', author: 'M Godfrey' },
            { id: 3, categoryId: 2, title: 'Demystifying React Component State', author: 'M Godfrey' }
        ];

        return articles.filter(function(article) {
            return article.categoryId === categoryId;
        });
    },
    render: function() {
        return (
            <div>
                <CategoryList categories={this.state.categories} onCategorySelected={this._onCategorySelected} />
                <ArticleList articles={this.state.selectedCategoryArticles} />
            </div>
        );

    },
    _onCategorySelected: function(categoryId) {
        this.setState({ selectedCategoryArticles: this.getCategoryArticles(categoryId) });
    }
});

module.exports = Blog;
The code above is reasonably verbose. This is due to the hardcoding of articles and categories in getInitialState() and getCategoryArticles() respectively. At the start of the article I mentioned that data would be hardcoded to begin with, but later supplied by Socket.IO. So bear with me, as the solution will become more interesting soon.
We now have two child components and one parent component. However this isn’t enough for a fully working solution. For that we need two further files, a script for bootstrapping the Blog component and an HTML page to display it.
app.jsx, the file with the code to bootstrap the demo, contains the following code:
var React = require('react');
var Blog = require('./blog.jsx');

React.render(
    <Blog defaultCategoryId="1" />,
    document.getElementById('blogContainer')
);
Finally, our HTML page, named index.html, contains the following markup:
<!DOCTYPE html>
<html>
  <head>
    <meta charset="UTF-8" />
    <title>Demystifying react-component state</title>
    <meta name="viewport" content="width=device-width, initial-scale=1" />
    <link href="styles.css" rel="stylesheet" />
  </head>
  <body>
    <h1>Demystifying React Component State</h1>

    <div id="blogContainer"></div>

    <script src="bundle.js"></script>
  </body>
</html>
You’ll notice that index.html does not load app.jsx. This is where Browserify comes into play. Before you can use the application, you have to run the following command:
browserify -t reactify browser/app.jsx -o browser/bundle.jsBrowserify starts at app.jsx and follows all the calls to require() in order to output bundle.js. bundle.js will contain our three components, app.jsx, and the React library itself, all within a single closure to prevent global namespace pollution.
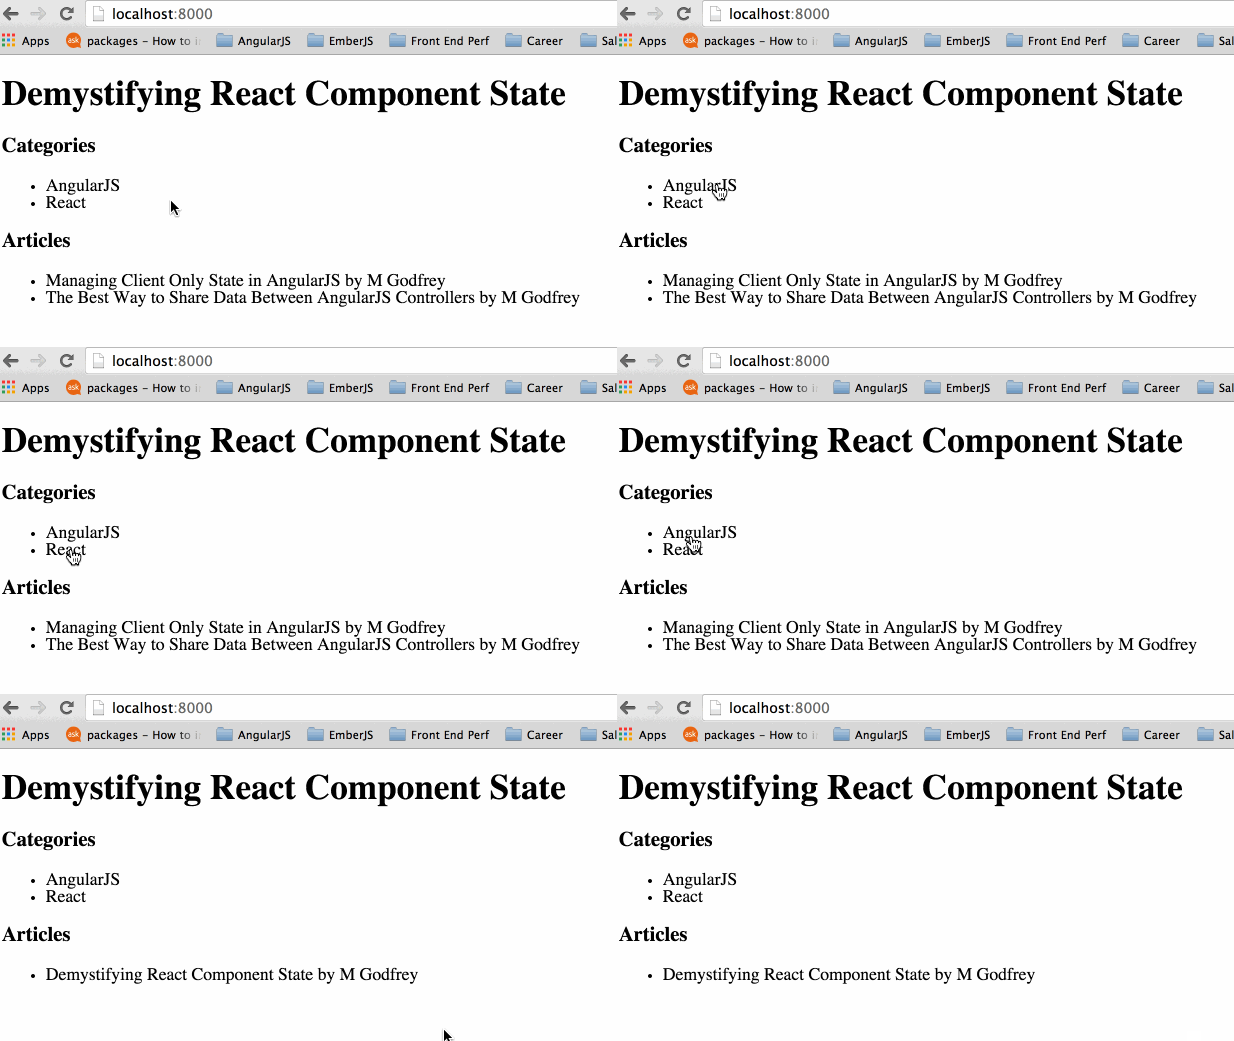
Here is a demonstration of the fully working solution.

Improvements
Up to this point, this article has focused on implementing a pattern of stateless child components and stateful parent components, as suggested by the React documentation. Are there other areas of the documentation that can help us improve our code?
In the following sections we’ll look at two of them. The first will use event handlers and second computed data.
Let Event Handlers Guide State Contents
The React documentation suggests:
State should contain data that a component’s event handler may change to trigger a UI update.
In our solution the _onCategorySelected method of the Blog component is the only event handler and it only changes state.selectedCategoryArticles. For this reason, state.categories and state.articles should not exist.
We can fix this by passing categories and articles in app.jsx to React.render() alongside defaultCategoryId as follows:
var React = require('react');
var Blog = require('./blog.jsx');

var categories = [
    { id: 1, title: 'AngularJS' },
    { id: 2, title: 'React' }
];

var articles = [
    { id: 1, categoryId: 1, title: 'Managing Client Only State in AngularJS', author: 'M Godfrey' },
    { id: 2, categoryId: 1, title: 'The Best Way to Share Data Between AngularJS Controllers', author: 'M Godfrey' },
    { id: 3, categoryId: 2, title: 'Demystifying React Component State', author: 'M Godfrey' }
];

React.render(
    <Blog defaultCategoryId="1" articles={articles} categories={categories} />,
    document.getElementById('blogContainer')
);
In blog.jsx we now access articles and categories from props as follows:
var React = require('react');

var CategoryList = require('./categoryList.jsx');
var ArticleList = require('./articleList.jsx');

var Blog = React.createClass({
    getInitialState: function() {
        return {
            selectedCategoryArticles: this.getCategoryArticles(this.props.defaultCategoryId)
        };
    },
    getCategoryArticles: function(categoryId) {
        return this.props.articles.filter(function(article) {
            return article.categoryId === categoryId;
        });
    },
    render: function() {
        return (
            <div>
                <CategoryList categories={this.props.categories} onCategorySelected={this._onCategorySelected} />
                <ArticleList articles={this.state.selectedCategoryArticles} />
            </div>
        );

    },
    _onCategorySelected: function(categoryId) {
        this.setState({ selectedCategoryArticles: this.getCategoryArticles(categoryId) });
    }
});

module.exports = Blog;
The second improvement we’ll look at is computed data.
Computed Data
The React documentation further describes:
this.stateshould only contain the minimal amount of data needed to represent your UIs state.
The Blog component’s state.selectedCategoryArticles is made of computed data. The documentation recommends that all computations are written within the component’s render method. We can achieve this by changing blog.jsx as follows (only the render() method is reported):
render: function() {
    var selectedCategoryArticles = this.props.articles.filter(function(article) {
        return article.categoryId === this.state.selectedCategoryId;
    }, this);

    return (
        <div>
            <CategoryList categories={this.props.categories} onCategorySelected={this._onCategorySelected} />
            <ArticleList articles={selectedCategoryArticles} />
        </div>
    );
}
While this is an easy recommendation to follow with our simple example, consider the number of articles SitePoint has published. The array filter in render() could become very expensive. For this scenario I would consider a model change, introducing an articles array property on each category.
This last suggestion completes our analysis and implementation of the React documentation tips. But we have one final change to perform…
External updates
We’ll simulate the article publication with Socket.IO. I’ll omit the server code for brevity.
In the component API page the React documentation describes:
The only way to get a handle to a React Component instance outside of React is by storing the return value of React.render
With this knowledge the Socket.IO integration becomes trivial.
app.jsx now includes the creation of a SocketIO client listening for articlePublished messages from the server as follows (I’ll just show the new code):
var React = require('react');
var Blog = require('./blog.jsx');

var categories = [
    { id: 1, title: 'AngularJS' },
    { id: 2, title: 'React' }
];

var articles = [
    { id: 1, categoryId: 1, title: 'Managing Client Only State in AngularJS', author: 'M Godfrey' },
    { id: 2, categoryId: 1, title: 'The Best Way to Share Data Between AngularJS Controllers', author: 'M Godfrey' },
    { id: 3, categoryId: 2, title: 'Demystifying React Component State', author: 'M Godfrey' }
];

var renderedBlog = React.render(
    <Blog initialCategoryId="1" initialArticles={articles} categories={categories} />,
    document.getElementById('blogContainer')
);

var socket = require('socket.io-client')('http://localhost:8000/');

socket.on('articlePublished', function(article) {
    renderedBlog._onArticlePublished(article);
});
blog.jsx changes for the last time by exposing an additional event handler as follows:
var React = require('react');

var CategoryList = require('./categoryList.jsx');
var ArticleList = require('./articleList.jsx');

var Blog = React.createClass({
    getInitialState: function() {
        return {
            articles: this.props.initialArticles,
            selectedCategoryId: this.props.initialCategoryId
        };
    },
    render: function() {
        var selectedCategoryArticles = this.state.articles.filter(function(article) {
            return article.categoryId === this.state.selectedCategoryId;
        }, this);

        return (
            <div>
                <CategoryList categories={this.props.categories} onCategorySelected={this._onCategorySelected} />
                <ArticleList articles={selectedCategoryArticles} />
            </div>
        );

    },
    _onCategorySelected: function(categoryId) {
        this.setState({ selectedCategoryId: categoryId });
    },
    _onArticlePublished: function(article) {
        // we should treat state as immutable
        // create a new array by concatenating new and old contents
        // http://stackoverflow.com/a/26254086/305844
        this.setState({ articles: this.state.articles.concat([article]) });
    }
});

module.exports = Blog;
You’ll notice that state.articles has been introduced again. Because of this I’ve introduced “initial” variable names in props to convey its true intent.
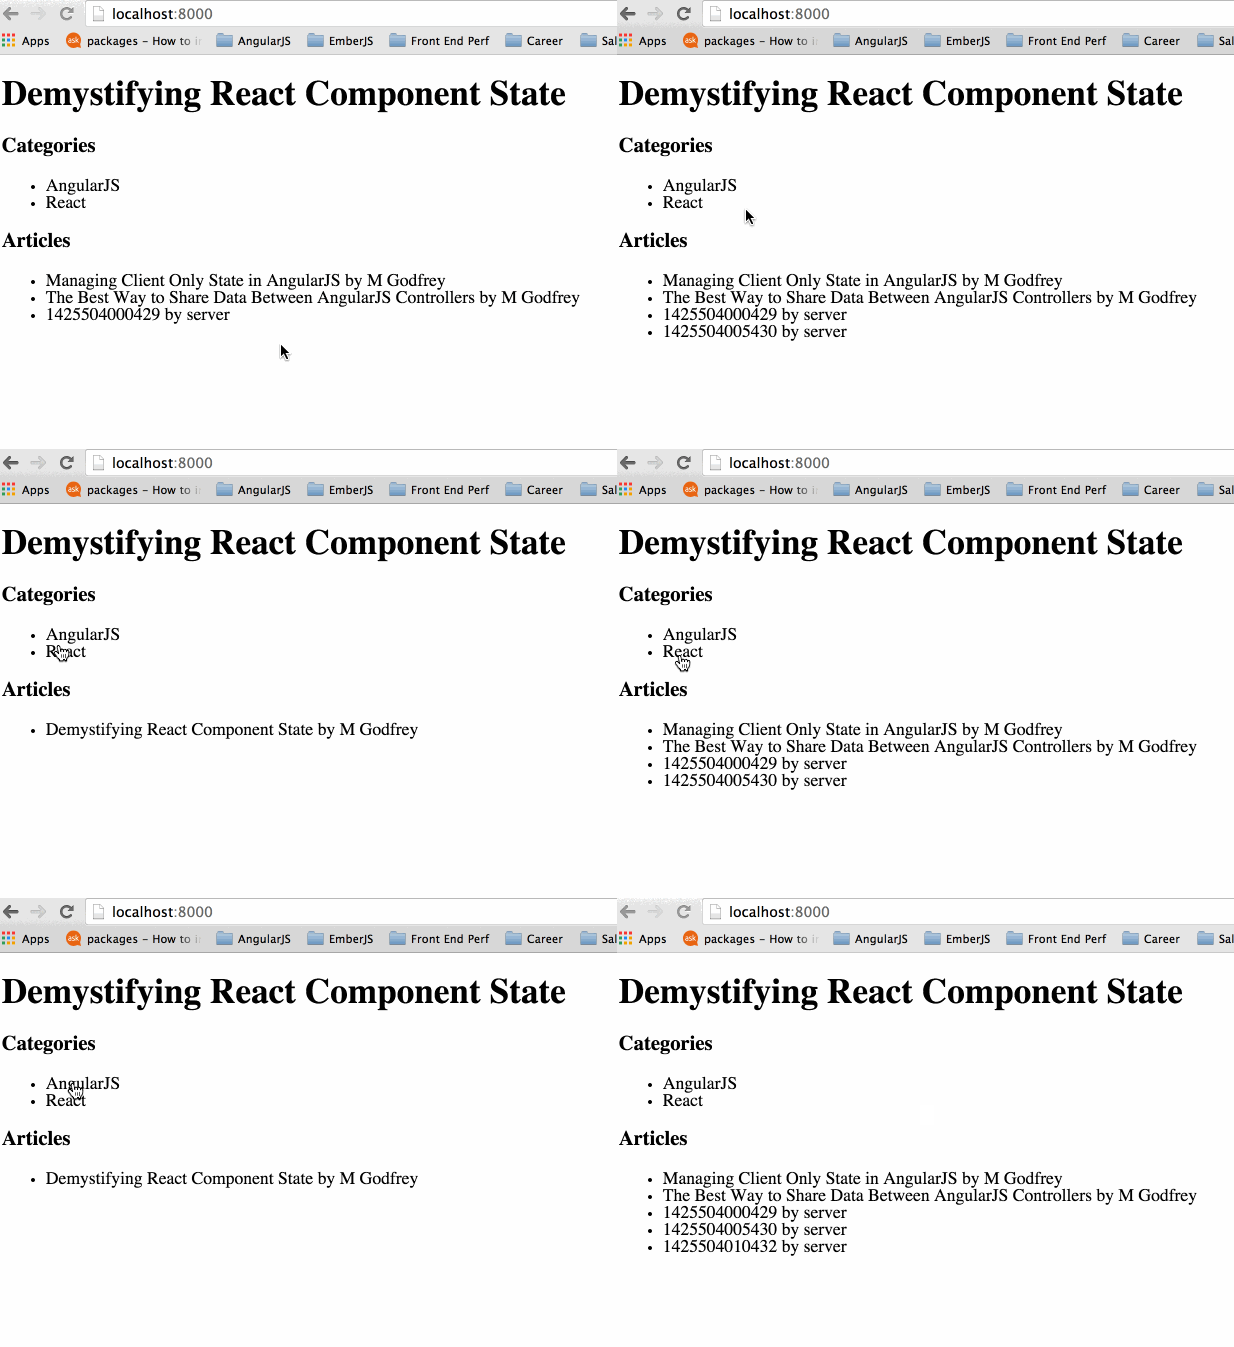
Here is a demonstration of the final working solution. As you can see the server is only publishing articles for the AngularJS category and “creatively” uses a timestamp for each article title.

Conclusion
The React documentation is very comprehensive and you can learn a lot from it. Writing this article forced me to follow and accurately apply a section of it. Real-world applications will likely force us to deviate from it. When we encounter these scenarios we should perhaps strive to change other application components (e.g. model or view structure). I would love to hear your thoughts in the comments.
The fully working example, including Socket.IO server code, can be found on my GitHub account.
If you’re trying to improve your React game, check out our sample video from our Hands-on React to Get You Started Quickly mini course, available for SitePoint members. Learn the fundamental and practical parts of React with an excellent, hands-on experience in building React components from the ground up.
Mike is a JavaScript engineer struggling to keep up with the rate of innovation in modern web development. He suspects he isn’t alone! He’s currently chosen AngularJS as his framework of choice, but occasionally samples others to make sure that remains a good decision. He blogs at http://crudbetter.com/.


