Hello, World!
Since the beginning of time, the first program anyone learns to build in any new programming language is a program that displays the words “Hello, World.” Of course, the words here aren't important, and I would encourage you to choose any words you like to replace this cliché phrase. The point of this chapter is to quickly build up your understanding of how React works by using a simple and inconsequential program. But, don't be deceived—the foundational tools and techniques that you learn about in this chapter are essential to learning React. If you only read one chapter of this book, this would be the one. In this chapter, you'll learn:
- How to use React without a toolchain.
- How to write your first React application.
- How to make and modify a React application built with Create React App.
REACT WITHOUT A BUILD TOOLCHAIN
Most React application development uses a build toolchain (such as the one created by Create React App) running in Node.js as its foundation. It is possible, however, to include React in an existing website or to build a website that makes use of React by just importing a couple of scripts into a web page. You can even use React code alongside JavaScript code written using another library or framework.
Follow these steps to make an HTML page and to add React to it:
- Create a new folder in your Documents folder and open it in Visual Studio Code.
- Open the Command Palette (Command+Shift+P on MacOS or Control+Shift+P on Windows) and run the File: New File command, or select File ➪ New File from the top menu.
- Save your new file as
index.html. - Type ! followed by the Tab key to generate an HTML template using emmet. If you prefer, you can also type the following code into your new blank file:
<!DOCTYPE html><html lang="en"><head> <meta charset="UTF-8"> <meta name="viewport" content="width=device-width, initial-scale=1.0"> <title>Hello, React!</title></head><body> </body></html> - Between the
<body>and</body>tags, create an emptydivelement and give it anidattribute with the value ofapp. This is where you're going to tell React to render its output. In the React world, we call this the container element. The actualidvalue doesn't matter here, butappis a simple, easy to remember, and meaningful value that is very commonly used.Note
You can put a React container element anywhere inside the
bodyelement of a web page. - Go to
https://reactjs.org/docs/cdn-links.htmlin your browser and find the script tags for including React and ReactDOM from a content delivery network (CDN), as shown in Figure 1-1. - Copy both script tags and paste them right before the
</body>tag inindex.html.Note
The reason these must go at the end of the body of your web page is that they can make changes to your web page. Because of the way JavaScript loads and then executes immediately after it loads, the browser will show an error message if your React code is loaded and executed before the container element is loaded.
The first script,
react.development.js, is the actual React library that handles the rendering of React components, the flow of data between components, responding to events, and all of the functionality that you, as a React developer, have control over in React.The second script,
react-dom.development.js, handles the communication and translation between the React application that you write and the browser DOM. In other words, it controls how and when your component renders and updates in the browser.
FIGURE 1-1: The React CDN Links
The CDN links that you copy from
reactjs.orgwill explicitly specify the latest version of React at the time that you view the page. If you want to make sure that your page always uses the latest version of React, change the number following the @ to “latest” as shown here:<script src="https://unpkg.com/react@latest/umd/react.development.js" crossorigin></script><script src="https://unpkg.com/react-dom@latest/umd/react-dom.development.js" crossorigin></script>Note
Notice the “umd” in the URLs in step 7. UMD stands for Universal Module Definition. UMD is what allows the CDN version of React to work in browsers without requiring a compile step.
- After the script tags that include the UMD versions of
reactandreact-dom, write another script tag that includes a file (which we'll make shortly) namedHelloWorld.js:<script src="HelloWorld.js"></script>
Your index.html file should now match Listing 1-1.
LISTING 1-1: The HTML file for using React without a toolchain
<!DOCTYPE html><html lang="en"><head> <meta charset="UTF-8"> <meta name="viewport" content="width=device-width, initial-scale=1.0"> <title>Hello, World!</title></head><body> <div id="app"></div> <script src="https://unpkg.com/react@latest/umd/react.development.js" crossorigin></script> <script src="https://unpkg.com/react-dom@latest/umd/react-dom.development.js" crossorigin></script> <script src="HelloWorld.js"></script></body></html>- Create a new file in the same directory as
index.htmland name itHelloWorld.js. - Add the following code to
HelloWorld.js:'use strict'; class HelloWorld extends React.Component { constructor(props) { super(props); this.state = { personName:'World' }; } render() { return React.createElement('h1', null, 'Hello, ' + this.state.personName); }} - Add the following to the end of
HelloWorld.js, after the code you entered in step 10:const domContainer = document.querySelector('#app');ReactDOM.render(React.createElement(HelloWorld), domContainer); - Open
index.htmlin a web browser. You should see the message “Hello, World” displayed as a first level heading, as shown in Figure 1-2. - Change the value of the
personNameproperty in thestateobject inside theconstructorfunction inHelloWorld.jsas shown in Listing 1-2.LISTING 1-2: Changing the state data in a component
'use strict'; class HelloWorld extends React.Component {  constructor(props) {
    super(props);    this.state = { personName:'Murray' };  }   render() {    return React.createElement('h1', null, 'Hello, ' + this.state.personName);  }} const domContainer = document.querySelector('#app');ReactDOM.render(React.createElement(HelloWorld), domContainer);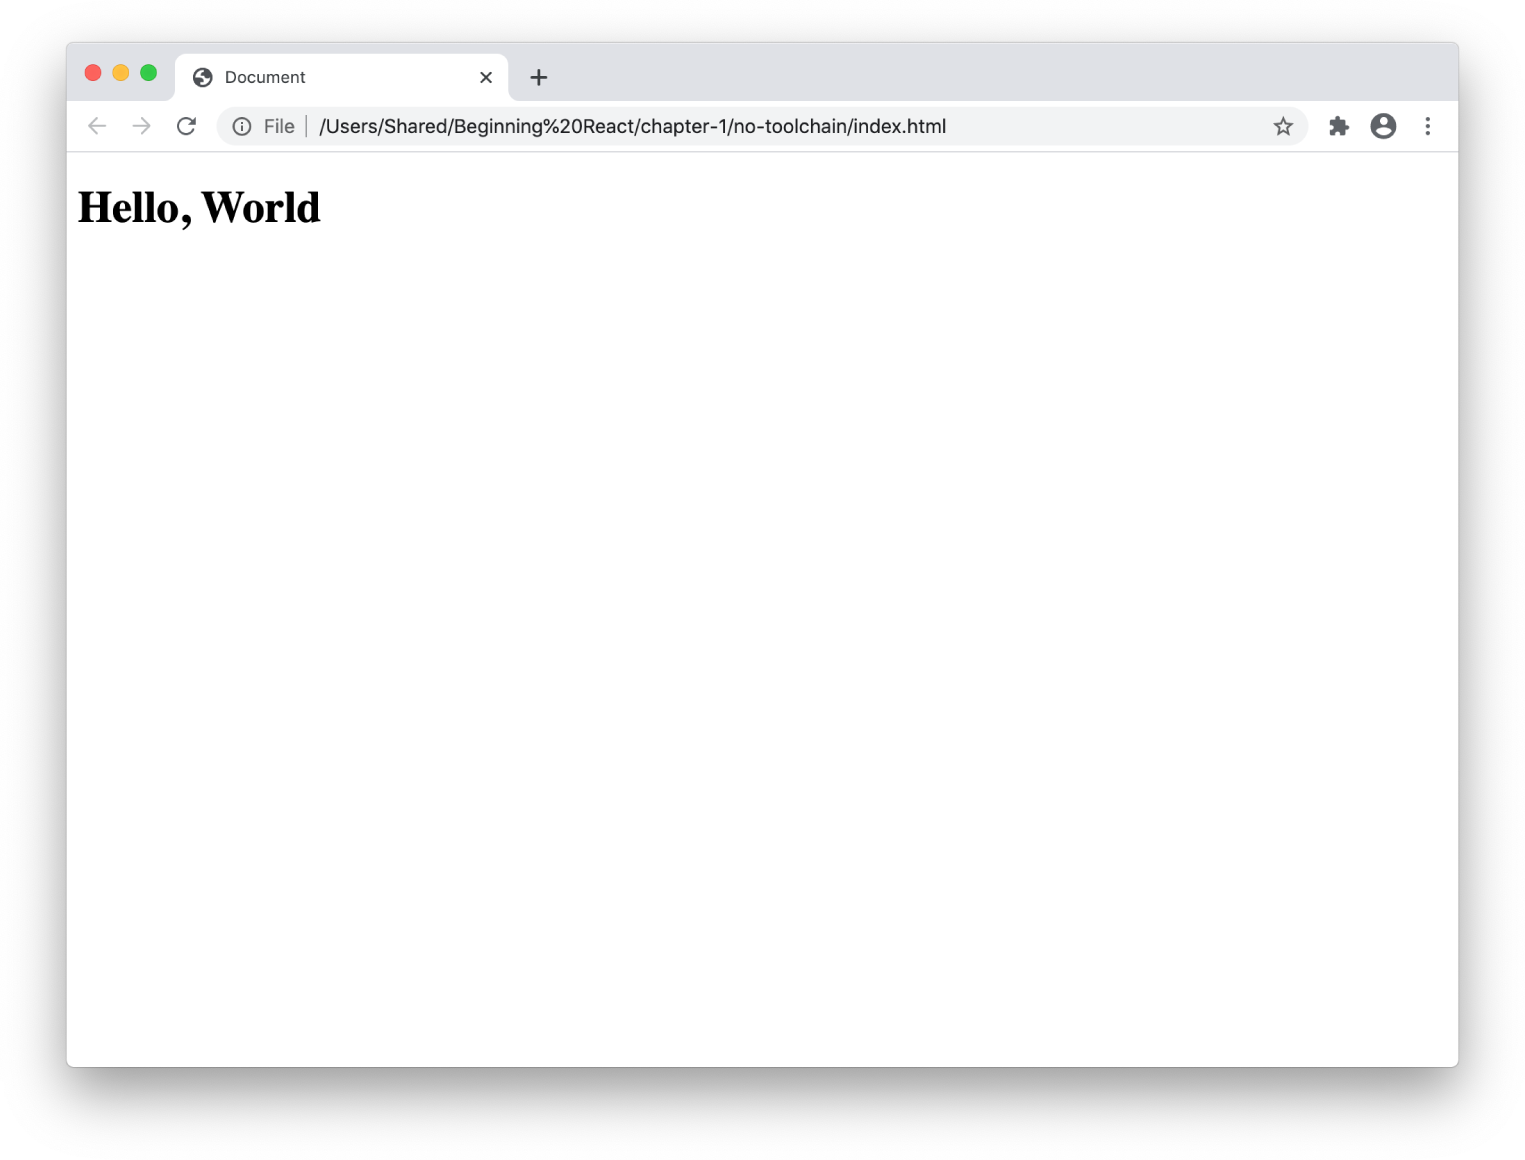
FIGURE 1-2: Hello, World running in a browser
- Save
HelloWorld.jsand refresh your browser window. You should see the update reflected.
Congratulations! You've now built your first custom React application.
Spend a few minutes examining the code for HelloWorld.js. If you're familiar with JavaScript objects and classes, you'll notice that there's nothing magic going on here. Everything is straightforward JavaScript.
Here's a quick line-by-line rundown of everything that's happening in this file:
- We create a JavaScript class called
HelloWorldthat extends theReact.Componentclass:class HelloWorld extends React.Component {Note
You'll learn about using classes in JavaScript in Chapter 4.
- Next, we write the constructor:
constructor(props) { super(props); this.state = { personName:'World' };}The constructor will run just once, before the component is mounted. In the constructor, we use the
supermethod to import properties from the base class (which isReact.Component). Finally, we create an object calledstateand give it a property calledpersonName. - We create a new function in
HelloWorldcalledrender():render() { return React.createElement('h1', null, 'Hello,' + this.state.personName);}The
renderfunction produces the output of every React component. This output is generated by using theReact.createElementmethod, which takes three parameters:- The HTML element to create
- Optional React element properties
- The content that should be put into the created element
- Finally, we use the
rendermethod of ReactDOM to render the return value of theHelloWorldclass inside of the HTML document:const domContainer = document.querySelector('#app');ReactDOM.render(React.createElement(HelloWorld), domContainer);
Note
Notice that we're using two different functions named render(). The first one, React.render(), creates the output of a component. The second one, ReactDOM.render(), causes that output to be displayed in the browser window.
If this seems like a lot of work and code to just make a web page display text, you're right—it is.
Fortunately, there are much easier ways to write React code, thanks to the tools that you learned about in this book's Introduction—specifically, Node.js and Create React App.
Let's wrap up this chapter by combining everything you've learned so far into making an interactive version of the Hello, World application with Create React App.
INTERACTIVE “HELLO, WORLD” WITH CREATE REACT APP AND JSX
Although it's possible to use React without a toolchain by including the UMD build into an HTML file, this is far from an ideal way to do anything but a simple application.
By using a toolchain, you gain a set of testing and debugging tools that can help you write better code. You also gain the ability to compile your React components so that they'll run faster in the user's browser.
You've already seen how to use Create React App to build a boilerplate user interface. Now let's look at how to build something slightly more complex and interactive:
Note
If you'd like to bypass the process of installing and configuring the Create React App boilerplate, you can skip the first three steps and use the same app you created in the book's Introduction.
- Using Visual Studio Code, create a new directory and open the integrated terminal.
- Type npx create-react-app react-js-foundations into the terminal and press Enter.
- Once Create React App finishes its work, type cd react-js-foundations followed by npm start. Create React App will start up your application and open it in a browser.
- Open
src/App.jsin Visual Studio Code. - Update
App.jsto match Listing 1-3 and then save the file.LISTING 1-3: An interactive Hello, World component
import React from 'react';import './App.css'; function App() { const [personName,setPersonName] = React.useState(''); return ( <div className="App"> <h1>Hello {personName}</h1> <input type="text" onChange={(e) => setPersonName(e.target.value)}/> </div> );} export default App; - Return to your browser, and notice that the default Create React App screen has been replaced with an input field and an
h1element above it.Note
This ability of an app running in Create React App to detect when files have changed and update what's showing in the browser without you having to manually reload the page is called “hot reloading.”
- Type into the input field. Everything you type should appear inside the
h1element, as shown in Figure 1-3.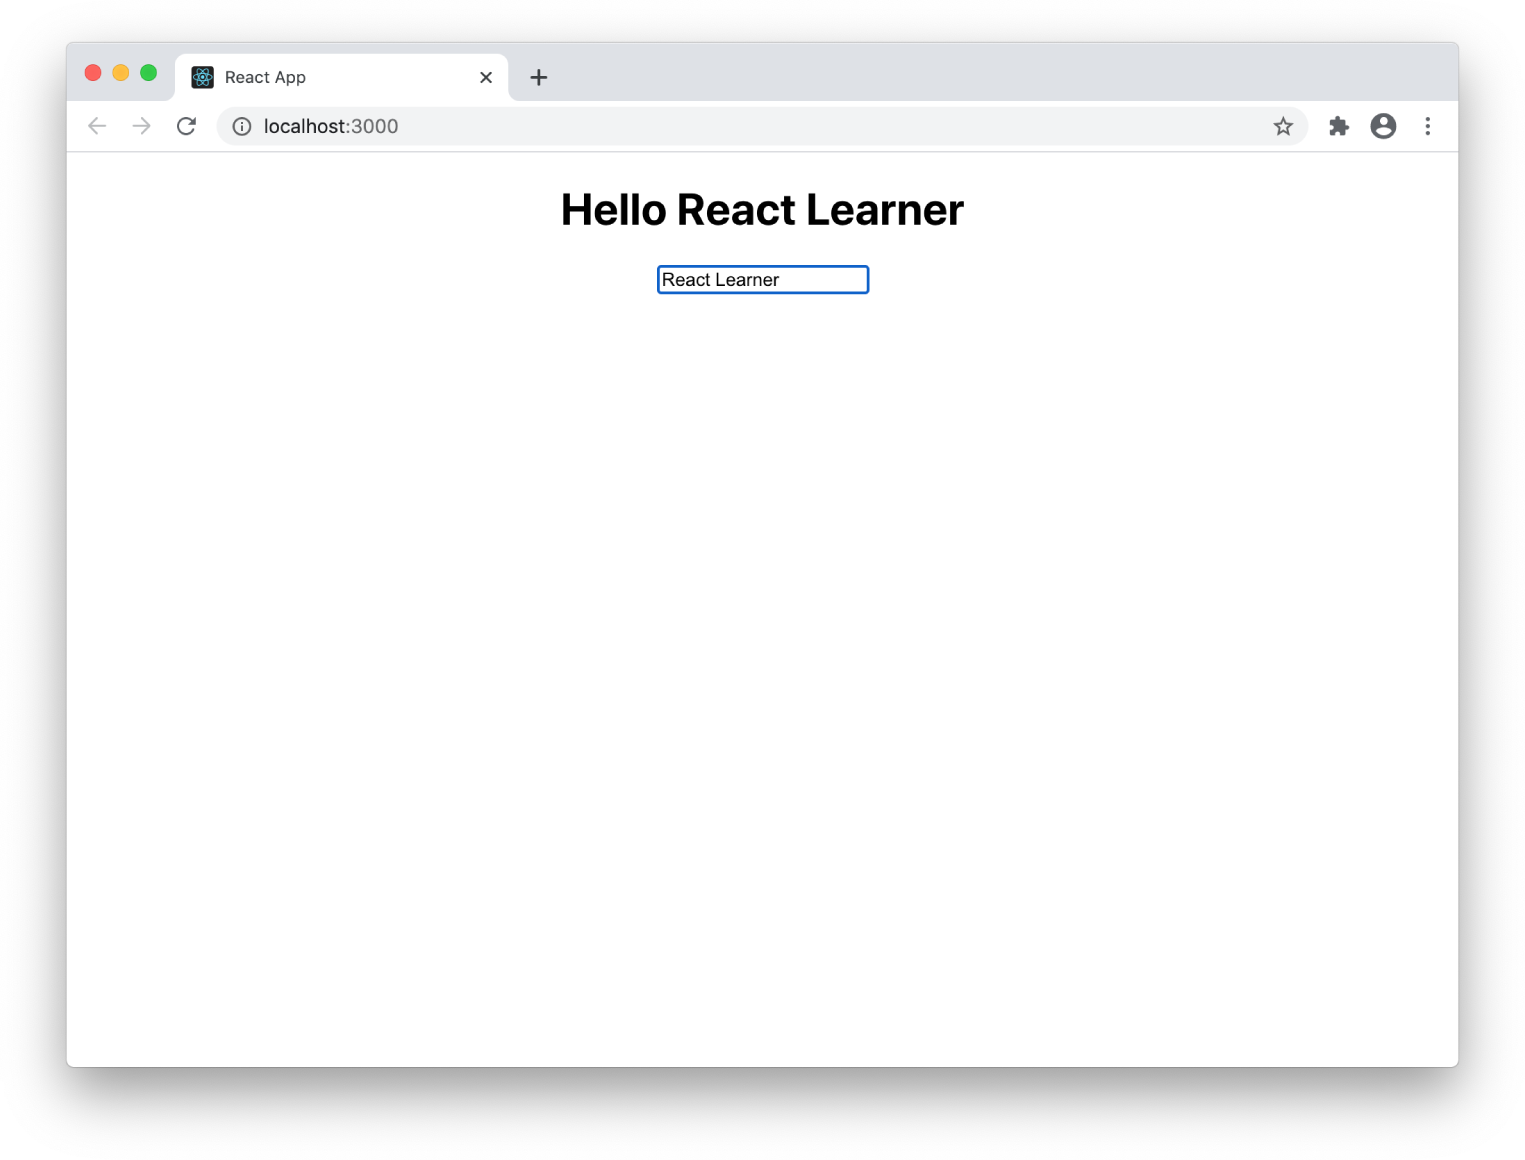
FIGURE 1-3: The finished interactive Hello, World component!
- When you're done playing around with this component, return to the built-in terminal in VS Code and press Ctrl+c to stop the recompiling and hot reloading script.
SUMMARY
Congratulations! In the last few pages, you've experienced the most primitive way to write React code as well as the latest and most advanced way. The history of React has been one of gradually refining the methods and tools used to write React to make it easier for developers. In these two examples, you've seen the two extremes—a React application built without the aid of any tooling, and one built using Create React App and the latest enhancements and simplifications that have been added to React as of this writing.
In this chapter, you learned:
- How to write a React application with the UMD build of React.
- The difference between
React.renderandReactDOM.render. - How to write a component using
React.createElement. - How to write and run a basic interactive component using Create React App.
In the following chapters, you'll learn how all of this works. Continue on to the next chapter where you'll learn about the inner workings of React.js and how it fits into the big picture. After that, Chapter 3 takes you further into working with more code.